Switching sequences tab
This page has been automatically translated and has not been reviewed in detail yet. Therefore, the translation might not be completely accurate.
Switching sequences – switching on and off according to plan
What do you need that for?
A media installation is an interaction of many devices. In order to shut it down completely or switch it on, certain sequences and waiting times must be adhered to.
For example, if you want to shut down a conference room, you should first send the projector the command to turn it off. Maybe it needs to cool down a bit. During this time, the screen and the blinds can be raised. Then switch off the computer and audio technology. And only when everything is off will the power be switched off.
The order and waiting times can be freely defined in Neuroomnet - and you only have to do this once in a central location so that all conference rooms or groups behave in the same way.
What rule sets are there?
By default, the following switching sequences for groups (without content) are already created in NeuroomNet:
- Power on - freely definable
- Power off - freely definable
- Restart - POWEROFF followed by POWERON
Additional ones can be created as desired.
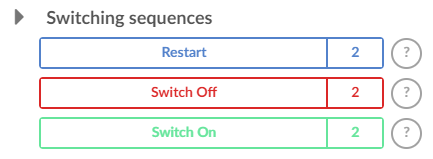
These sequences are then available to all groups as actions under the “Switching sequences” area.

The switching sequences 1 such as switching on (POWERON), switching off (POWEROFF) and restarting (RESTART) and others are generally defined, but are always only triggered for a specifically selected group and its subgroups executed.
How are the rule sets processed?
A rule set consists of individual actions that can be grouped into blocks. Each action can receive a follow-up delay (in seconds), the “Delay” 2.
In a block, the actions are sent sequentially (one after the other) from NeuroomNet to the technical providers who are responsible for communication with the components. For each action, the providers determine which components are affected and whether they can be addressed. Sending the actions to the components is generally asynchronous. There is no waiting for an answer. The provider signals with an OK that the command was sent to the component with the specified follow-up delay. NeuroomNet waits ( Number of components * Delay) seconds before sending the next action to the providers.
Blocks are also processed sequentially. After a block, a follow-up delay 3 can be specified, by which the next block should be executed later. If no action was carried out in a block (since there are no corresponding components in the controlled group), the follow-up delay for the block does not apply.
Parallel editing of groups
The goal is reasonably fair, parallel processing taking dependencies into account. For each group, only one switching process should be active at a time - this can be refined later by attributing the switching processes.
This means in particular that after a switching process has been initiated on a group G1, a further process on G1 is only started when the first one has been completed. However, a process on a group G2 can be started at any time.
The group hierarchy is also taken into account. If a group G3 contains G1 directly or indirectly, a process for G3 must wait until G1 is completed.
The queue is currently trying to follow a fair approach based on the FIFO principle. If a process is active on G1 and a new process is to be started on G4, where G4, G1 and G5 are included, this must first wait for the G1 process to complete - as described. However, if a process is to be started on G5, it will be placed behind the G4 process, even though nothing can actually be done in parallel with G1.
But if you were to do this, then it could theoretically be the case that the G4 process would never be started, even though it was requested before the pure G5 process: If G1 is finished but G5 is not yet, then G4 has to wait for G5. If a new G1 process occurs during this time, it could be started again in parallel with G5 and G4 now has to wait for this too.
If the approach proves to be inadequate, the algorithms could be expanded accordingly. In the simplest case, a counter indicates how often a waiting process was skipped by others. If a limit (let's say 3) is exceeded, it is no longer possible to bring forward a later request.
Add new ruleset
With the button “Add switching sequence” 4 a new rule set is added.
This one needs
- Names (to be displayed in the actions under Monitoring and Hierarchy)
- Description (for help tool tips)
- Unique identifier (without spaces)

In order to fill the rule set, a block must first be created with "Add Block" 5. The order of the blocks can be changed later.
With “Add action” 6, actions are then added to this block.
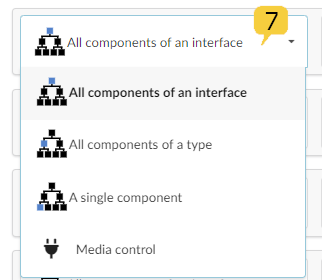
The first selection field 7 is important, which provides various filter/selection options for components that should be controlled:
- all components of an interface
- all components of a type
- single components
- a custom action for media control (see also chapter "Script Blocks")

If "All components of an interface" was selected, interfaces for selection appear in column 8. All components of the group are then controlled, which are connected via the selected interface and an action for the corresponding interface can be set in column 9.
If "All components of a type" was selected, component types appear in column 8 for selection and in column 9 an action for the corresponding component type can be set.
For the unique identifier 10, a meaningful name with variable notation should be chosen (i.e. no spaces, special characters, etc.).
Background: What are the display name and identifier used for?
You can specifically call up the switching sequence from the media control, the time control, the dashboard, etc., for example. If possible, the display name and not the identifier is presented. On the other hand, it is possible to trigger these sequences using a unique identifier using the Exhibit API. A meaningful name that follows variable notation is recommended here. For example, you can use a notation like <Scope>.<Action>, i.e. PC.Reboot, Light.Off .
After saving 11, the switching sequences can be triggered from the media control, the time control, the dashboard or via an API.
Testing the switching sequences
To test the switching sequences, the Traffic Inspector (see Module Traffic Inspector) should already be open in another tab.
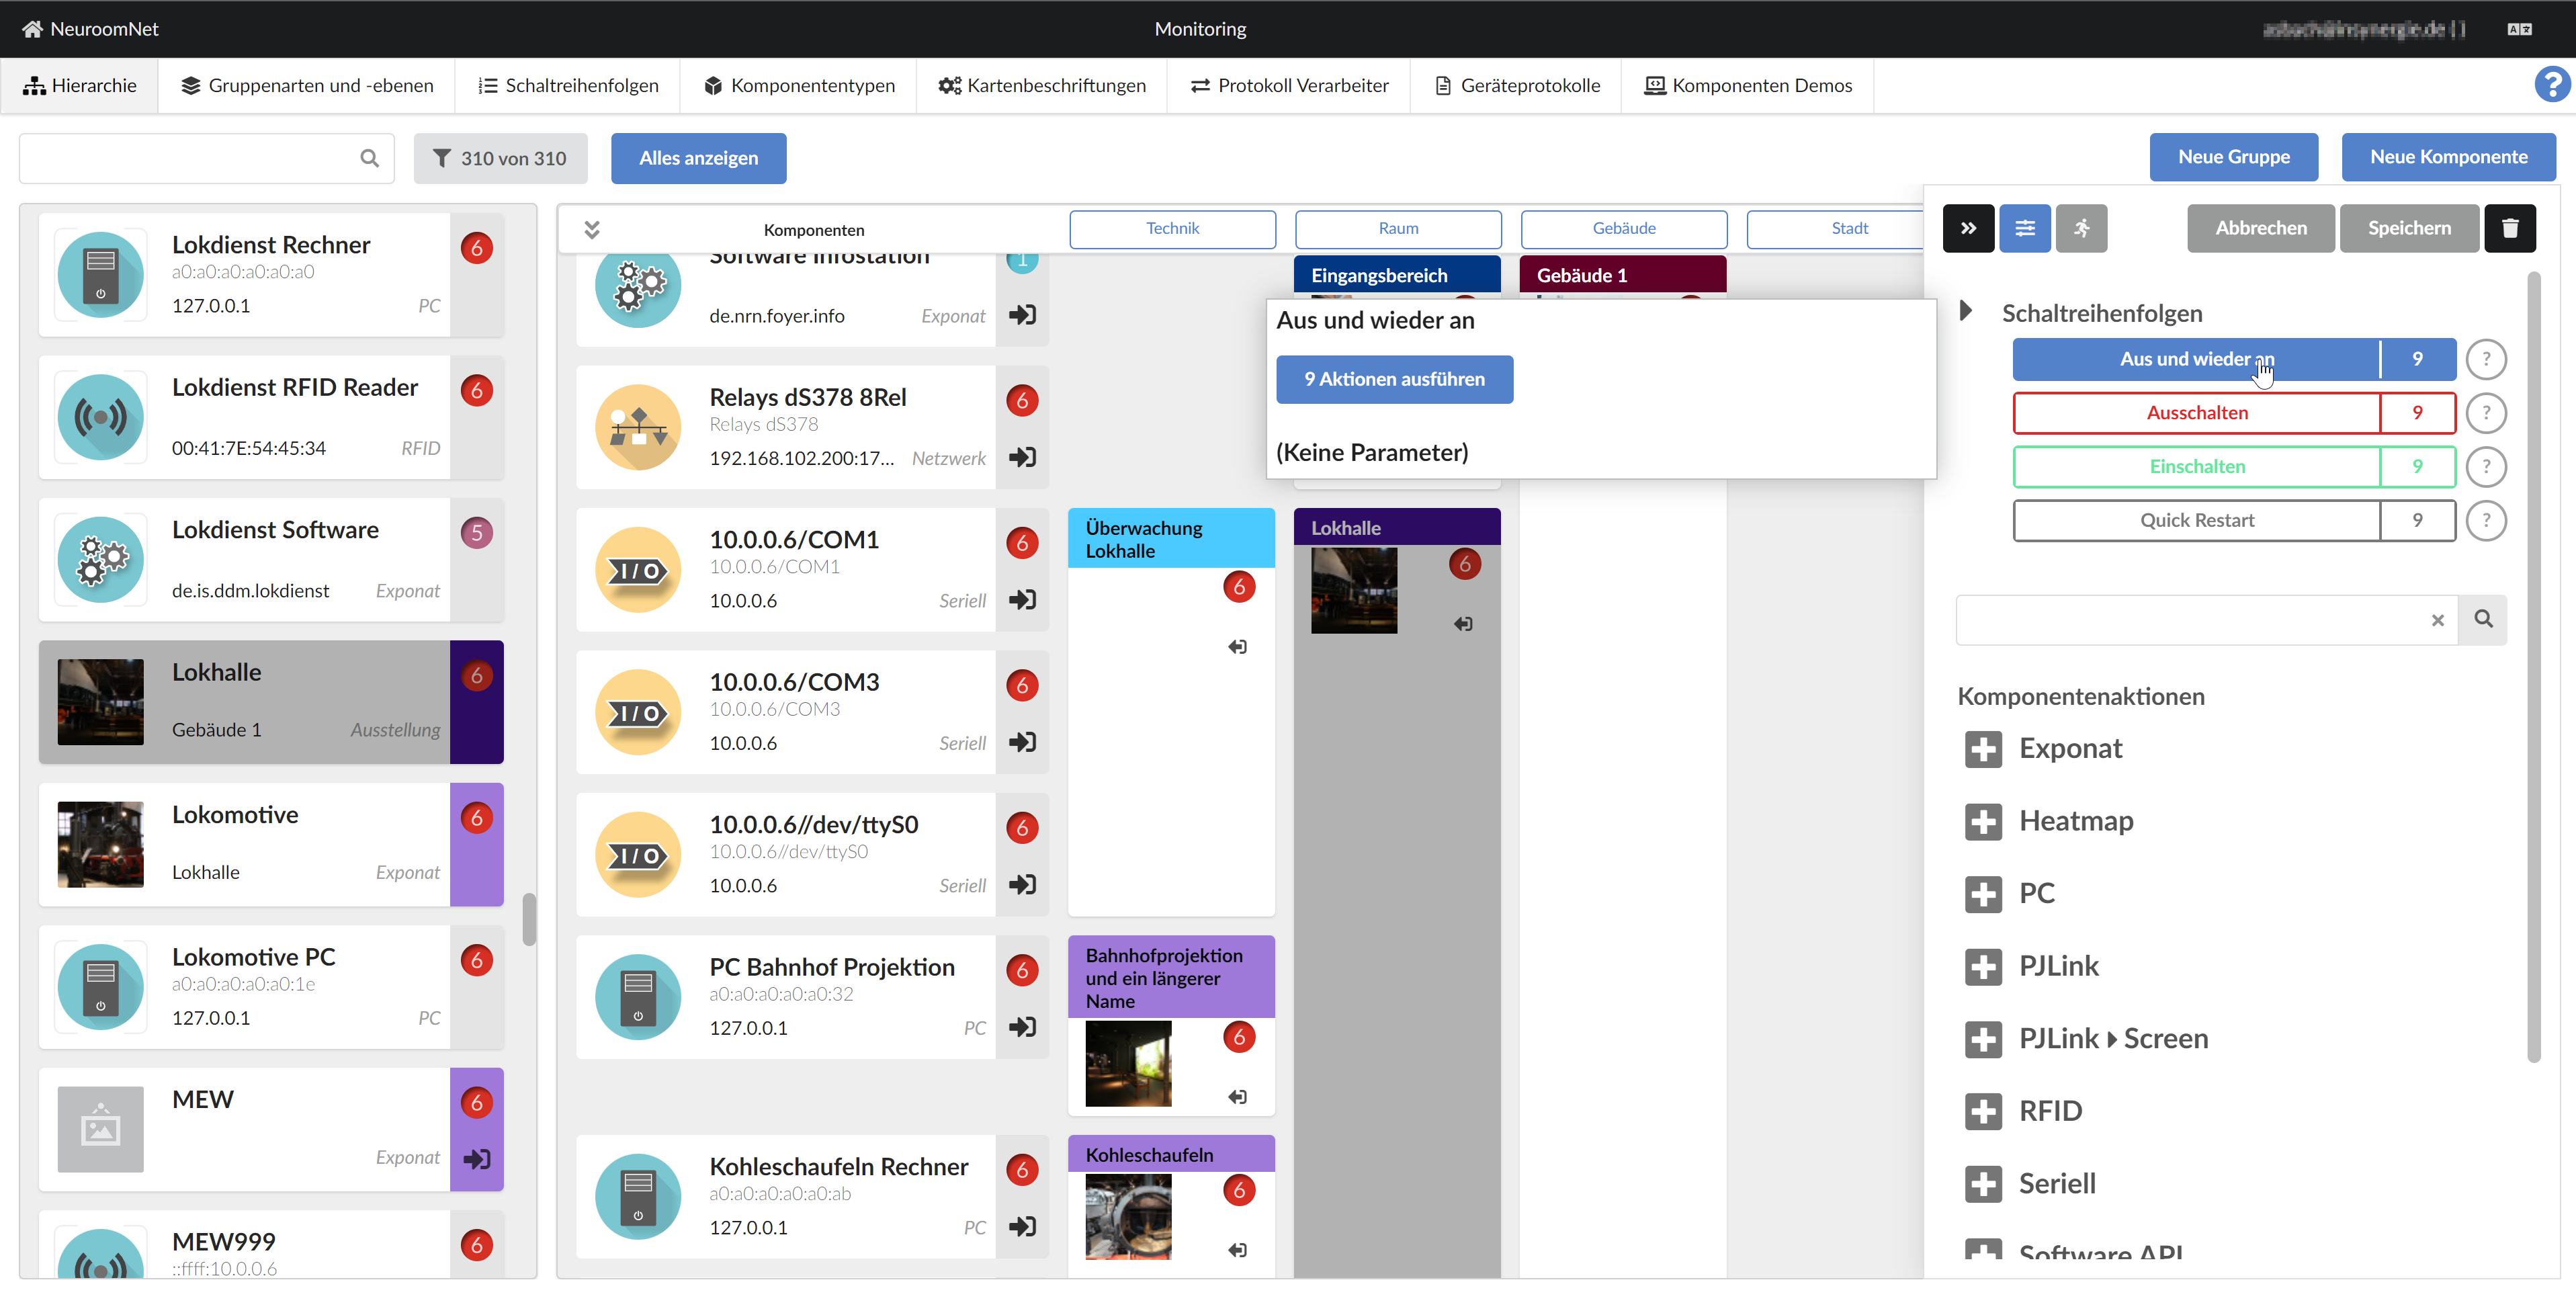
In the Hierarchy tab, a switching order is triggered manually by the following steps:
- Select a group for which (or ultimately its components) the switching sequence should be carried out by left-clicking on this group
- Show the right sidebar by clicking the button
- Display the switching sequences and actions for the selected group by clicking
- Click on one of the switching sequences and confirm in the popup with “Execute actions”:
 ]
]
You can now use the entries and timestamps in the Traffic Inspector log to check whether the component actions and waiting times are executed as expected.
After testing, the tab with the Traffic Inspector should be closed again.